Pollinator Hotel Build Guide for Bloom Haven
Pollinator Hotel Build Foundations for Bloom Haven Gardens
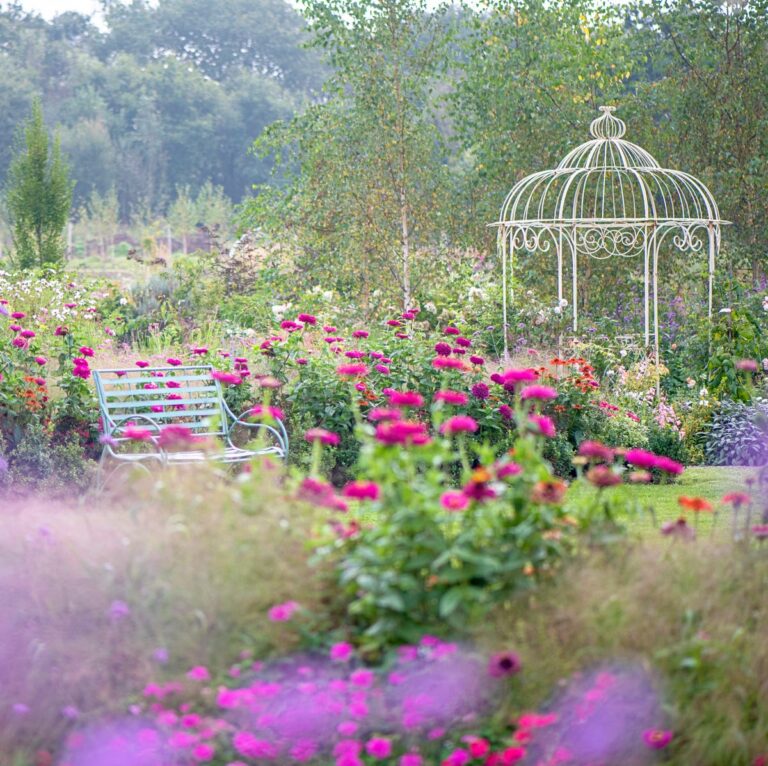
At Bloom Haven, our passion for flowers extends to the tiny architects of the garden — the pollinators. The pollinator hotel build is more than a decorative nesting box; it’s a purposeful micro-habitat that supports native bees, solitary wasps, and other beneficial insects. A well-planned foundation ensures durability, safety, and year‑round value for your blooms, from cabbage crush trends to wildflowers and peonies. In 2026, with rising interest in sustainable gardening, a thoughtfully designed pollinator hotel build can become a signature feature that boosts pollination, yields, and garden resilience. This introductory guide will walk you through site selection, materials, construction basics, and long-term care to set Bloom Haven gardens on a path toward thriving pollinator activity.
Pollinator Hotel Build Foundations: Core Concepts
Therefore, the core concept of a pollinator hotel build is to provide diverse nesting cavities, protective microhabitats, and stable microclimates. Start with a solid base, then layer in cavities of different diameters to welcome a range of species. Crucially, ventilation and drainage prevent moisture buildup that can rot wood or invite mold. In addition, predator protection and safe mounting prevent disturbance by larger wildlife and accidental contact by curious kids or pets. The foundation should be designed to withstand wind, sun, and rain while staying accessible for maintenance.
Choosing the Right Site for the pollinator hotel build
Choosing the right site is essential for success. In Bloom Haven, look for a sunny, open spot with partial shelter from strong winds and a clear flight path to nearby flowering borders. The pollinator hotel build should sit on a stable, well-drained base to prevent moisture damage. Position it at about chest height (roughly 3–6 ft or 1.0–1.8 m) for easy inspection while keeping it away from high-traffic areas. Avoid heavy shade from large trees and ensure it remains accessible for routine care. In addition, situate it near your most vibrant nectar sources to encourage frequent pollinator visits.
For a deeper dive into best practices, see the Xerces Society resource on pollinators: Xerces Society on Pollinators.
Materials and Craftsmanship for the pollinator hotel build
For durability and safety, choose untreated, rot‑resistant woods such as cedar or native hardwoods. Avoid pressure‑treated lumber and toxic finishes that could harm insects. Use corrosion‑resistant fasteners and simple, modular joinery that makes cleaning and repairs straightforward. Create cavities using a range of hole diameters, from about 4 mm to 12 mm, to welcome small bees through larger insects. Include natural fillers such as bamboo tubes, drilled blocks, bundles of straw, pine needles, and bark rounds. Install a removable back or front panel to allow periodic inspection and refreshing of nesting materials. Elevate the structure on a level base to keep cavities dry and accessible.
In addition, provide a rain cap or sloped roof to shed water and a breathable inner lining to maintain airflow without chilling the occupants.
Design Considerations: Accessibility, Ventilation, and Pest Prevention for the pollinator hotel build
Crucially, design with maintenance in mind. Use a simple, modular layout so you can remove and clean components without dismantling the whole unit. Ensure ventilation with natural gaps or breathable seams to prevent moisture buildup. Add drainage holes in the base and an elevated platform to keep the interior dry. To deter pests, seal exterior gaps with snug coverings while keeping cavity entries accessible to target species. A shallow overhang protects entrances from rain, while a predator guard on the exterior helps reduce disturbances by larger animals. In addition, keep the structure anchored to a sturdy post or base to resist strong winds.
Planning, Permits, and Budget for the pollinator hotel build
Planning and budgeting are essential to a successful pollinator hotel build. Start with a clear scope, then estimate materials, tools, fasteners, and any protective coatings. In general, a modest pollinator hotel build can begin around $60–$150 for a basic unit, while a larger or more finished design may run $300–$600. Therefore, set a contingency for seasonal weatherproofing and component replacement. Create a shopping list, a rough timetable, and a maintenance calendar to stay on track. Additionally, keep records of occupancy notes and cleaning requirements to optimize long-term use.
Permits are typically not required for a small garden structure, but check local regulations if you plan to place it near public spaces or school grounds. In addition, ensure your project aligns with HOA or community standards and follows local safety guidelines for materials and installation.
Permits and Safety Considerations for the pollinator hotel build
Safety is non‑negotiable. Use non‑toxic paints or stains on exterior surfaces, and avoid coatings inside the cavities. Wear protective gear during assembly. Secure the unit to a stable base to prevent tipping in windy weather. If you install a roof, verify it sheds water away from cavities. Finally, schedule an annual inspection to check for rot, loose fittings, or pest activity, and replace components as needed.
Installation Best Practices for Bloom Haven Gardens
Installation should prioritize stability, accessibility, and proximity to flowering beds. Begin with a level, sturdy base—consider a compact platform on concrete blocks or a gravel bed. Anchor the pollinator hotel build securely to resist gusts and vibrations. Place it in full sun or light shade with a clear flight path to nectar-rich borders, while avoiding spray zones. Add a lightweight predator guard around entrance holes, and install a small overhang to protect cavities from rain. Finally, establish a seasonal maintenance routine to inspect cavities, refresh nesting materials, and replace any worn components.
Seasonal Setup and Maintenance Schedule for the pollinator hotel build
Seasonal care keeps your hotel inviting year after year. In spring, clean cavities and refresh nesting materials. In summer, monitor occupancy and replace damaged components as needed. In autumn, seal gaps and prepare for winter by ensuring shelter remains dry and wind‑tight. In winter, check for moisture damage and ensure the interior remains ventilated but protected from extreme cold. In addition, document occupancy patterns to tailor future upgrades and keep your blooms thriving.
Therefore, in Part 2: Build Your Pollinator Hotel Step by Step, we translate these foundations into a practical, hands-on assembly guide with materials lists, drilling templates, and placement strategies.
Core Pollinator Hotel Build: Step-by-Step Construction and Setup
In Bloom Haven, a well-made pollinator hotel build integrates with garden design and supports native pollinators year round. This part translates the design into a tested construction process, with emphasis on safety, durability, and ease of maintenance. You will learn how to plan, assemble, and deploy a habitat that can resist weather, pests, and wear while providing a safe nesting experience for solitary bees and other beneficial insects. The result is a stable structure that complements flowering borders and yields tangible benefits for pollination and garden health.
Overview and goals of the pollinator hotel build
The core objective of the pollinator hotel build is to create a durable microhabitat that offers a range of nesting cavities while remaining low maintenance. Specifically, the structure should be weather resistant, easy to inspect, and safe from water intrusion and predators. In practice, that means designing with an overhanging roof, a vented back, and a solid base that keeps moisture away from nesting cavities. Furthermore, the hotel should be scalable, allowing you to add more cavities or expand the unit as your garden grows. By aligning the build with local pollinator behavior and Bloom Haven’s climate in 2026, you set up a thriving next step in your sustainable garden plan.
Materials and site planning for the pollinator hotel build
Before any cutting begins, dedicate time to site selection and material choices. Choose a sunny spot that receives morning sun and afternoon shade to balance heat and moisture. Ensure the location is easily accessible for seasonal cleaning and inspections, yet inland enough to avoid being battered by heavy winds. For materials, select untreated, rot-resistant lumber such as cedar or exterior plywood, and favor natural, non-toxic finishes. The interior cavities benefit from natural fibers like bamboo, reed, or cattail, while packing materials should be inert and non-toxic. For the nesting tubes, plan a range of diameters to attract multiple species, typically from about 2 millimeters up to 9 millimeters. Finally, prepare a base that lifts the hotel off damp ground, using a simple frame or a small platform that can be anchored securely to a post or wall. In short, the setup should minimize moisture exposure while maximizing airflow to drying wood and nesting cavities.
Foundation and frame assembly for the pollinator hotel build
The foundation forms the heart of durability. Build a sturdy frame with a raised base and a straightforward access panel for cleaning. Use corrosion-resistant fasteners and ensure all joints are snug without being over-tightened, which could crack wood under seasonal expansion and contraction. A simple rectangular frame acts as the backbone, while a removable front panel enables easy inspection of cavities and cleaning out debris after winter. In practice, a 2×4 frame with exterior-grade plywood sides creates a robust shell, and the entire unit should be mounted on a post or a low, stable stand to prevent tipping in wind gusts. Specifically, ensure the frame sits level and that the base has at least a 1-inch clearance from soil or mulch to reduce moisture uptake. This foundation work lays the groundwork for long-term stability and safe nesting spaces.
Enclosures and cavity design for the pollinator hotel build
Next, design the interior cavities to accommodate diverse pollinators. Use a mix of hollow bamboo tubes and drilled blocks with varied diameters, from 2 millimeters to 9 millimeters, to invite different species. Pack the cavities loosely so that bees can move around and maintain airflow, but avoid loose debris that could collapse into the cavities. The outer walls should be at least 1 to 1.5 inches thick to provide insulation and discourage rapid temperature swings. A shallow overhang on the roof helps shed rain, while a sloped back reduces moisture buildup inside. For entry points, provide a range of small holes facing away from prevailing winds and protected from direct rain, ensuring accessibility without inviting nest predation. By blending natural materials with careful geometry, you create a welcoming, species-rich hotel that remains durable year after year.
Choosing materials for the pollinator hotel build that remain safe and durable
Avoid chemical finishes near nesting cavities. Look for natural oils or beeswax finishes that are breathable and non-toxic. Consider a light exterior stain to ward off weather while keeping interior ventilation intact. Inside, use natural packing materials such as bamboo tubes, paper straws, or reed bundles. These materials should be clean and free of pesticides or preservatives. The goal is to provide a diverse array of microhabitats while ensuring the wood remains dry and structurally sound. If you need to replace any component, choose materials that match the original in safety and durability to prevent structural weakness or ecological disruption within the cavities.
Placement and mounting of the pollinator hotel build in the garden
Placement is central to success. Position the hotel at a height of about 4 to 6 feet to reduce ground moisture exposure and to keep it within sight for seasonal checks. Face the unit toward the southeast to capture morning sun, which helps dry the cavities after rain. Mount on a sturdy post, fence, or wall, ensuring there is no wobble and that the unit remains stable during storms. Keep the hotel away from dense shade, overgrown understory, or pest hotspots like woodpiles. If you install multiple units, vary their height and alignment to create a micro-habitat corridor that can support a broader range of pollinator species and flowering plants throughout the season. The precise positioning can significantly influence occupancy rates and species diversity, especially in a garden with tall perennials and dense borders.
Maintenance and seasonal care for the pollinator hotel build
Regular upkeep is essential for long-term success. Inspect the unit each season for cracks, warping, or loose fittings. Clean out old nesting debris in late winter or early spring before new generations emerge, taking care not to disturb any cocoons that might still be present. Replace damaged tubes and ensure cavities remain ventilated and free of mold. In Bloom Haven’s climate, consider refreshing some cavities every two to three years to maintain diversity and to prevent disease buildup. Rotate materials when possible to broaden the range of nesting options for different pollinator species. With consistent maintenance, your pollinator hotel build will stay functional and inviting for many seasons, supporting a robust pollinator population.
Safety and hygiene considerations for the pollinator hotel build
Safety begins with pesticide-free zones. Keep any chemical treatments away from the nesting site and provide a shallow, accessible water source nearby for pollinators. Use natural bedding, such as cedar shavings or dried grasses, inside cavities to promote comfortable nesting and moisture control. Ensure there is ample airflow and avoid finishes that seal the wood completely, which could trap humidity and encourage mold. Protect nesting sites from ground moisture by elevating the structure and ensuring a clear, dry footprint. By prioritizing hygiene and safe materials, you reduce disease risk and create healthier habitat opportunities for a wider range of pollinators.
Photographs, documentation, and evidence-based adjustments for the pollinator hotel build
Documentation helps future builds and ongoing improvements. Capture photos from multiple angles and note cavity sizes, materials, and placement. In Bloom Haven, certain cavity diameters attract mason bees more strongly, while others appeal to leafcutter bees; recording these outcomes lets you tailor future builds to your microclimate. Maintain a simple maintenance ledger that tracks cleaning dates, replacements, and observed pollinator activity. For extended guidance and inspiration, refer to credible resources such as How to Build a Pollinator Hotel. This external reference provides practical tips that complement the steps outlined here and helps you stay aligned with best practices in pollinator habitat creation.
In summary, the core pollinator hotel build blends sturdy construction with thoughtful cavity design and careful material choices. The result is a durable, maintenance-friendly habitat that promotes biodiversity and pollination within Bloom Haven. Complement the structure with a diverse plant palette that offers nectar and pollen across the seasons, and you will maximize the ecological and aesthetic value of your garden. In 2026, the emphasis on sustainable, insect-friendly landscapes makes this approach particularly timely and effective. Looking ahead, Part 3 will explore Habitat Integration and Maintenance for Pollinator Hotels, where we examine placement strategies, ongoing monitoring, and scalable expansion plans to grow your pollinator habitat further. Stay tuned for Part 3: Habitat Integration and Maintenance for Pollinator Hotels.
Advanced Pollinator Hotel Build Strategies and Final Guidance
As the final installment in our Bloom Haven guide, this section arms you with practical, scalable strategies to maximize the value of your pollinator hotel build in 2026 and beyond. You will learn how to tailor your design to local pollinator communities, how to maintain a durable structure, and how to track outcomes to continuously improve habitat quality. Each tactic is grounded in real world gardening principles and aligned with Yoast SEO best practices to help your BloomHaven content attract both search engines and engaged readers.
Refined Principles for a resilient pollinator hotel build
Resilience begins with a sound plan. A pollinator hotel build should weather climate shifts, endure routine wear, and adapt to evolving pollinator populations. Start by designing modular sections that can be expanded or reconfigured without a full rebuild. Use ventilation gaps that prevent moisture buildup and choose materials with natural rot resistance. Above all, prioritize safety and accessibility for gardeners while preserving the integrity of nesting cavities for wildlife. This foundation ensures your pollinator hotel build remains productive across years and seasons.
Materials and joinery for longevity in the pollinator hotel build
Select outdoor-grade timber such as cedar or redwood, or high-quality plywood with a durable exterior finish. Avoid chemically treated woods near nesting cavities. Use stainless steel or zinc-coated fasteners to resist corrosion. Pre-drill to prevent splitting and keep interior surfaces smooth to reduce harm to small occupants. Seal exterior faces with breathable, insect-safe primers and finishes that allow moisture to escape. By prioritizing durable joinery and protected edges, your pollinator hotel build stays strong through rain, sun, and frost. In this practice, longevity meets function, and the habitat remains welcoming year after year.
Site, orientation, and microclimate optimization for the pollinator hotel build
Placement drives occupancy. Position the hotel where morning sun warms the cavities and where afternoon shade moderates heat in warmer regions. Elevate the unit slightly off the ground using a sturdy base to shed excess moisture. Face the cavities toward the prevailing breeze to encourage ventilation and reduce stagnant air. In windy or exposed sites, add a windbreak or mount on a solid post to minimize movement. Proximity to nectar-rich plants boosts occupancy, while a quiet, sheltered location encourages longer nesting periods. For best results, treat placement as a living part of the garden’s ecology and adjust as observed over seasons. This thoughtful setup is a key component of the pollinator hotel build’s success.
Protection from the elements and pests in the pollinator hotel build
Install a modest overhang or roof extension to shed rain away from entrances. Use weatherproof flashing at joints to prevent leaks. Regularly inspect for moisture, loose fasteners, and insect incursions. Keep interior cavities dry by ensuring adequate airflow and avoiding sealed cavities. Install a slim screen or mesh shield to deter rodents without trapping beneficial insects. This protective approach preserves nesting conditions and reduces maintenance demands, keeping your pollinator hotel build functional and inviting through multiple seasons.
Seasonal maintenance plan and monitoring for the pollinator hotel build
Create a maintenance calendar that aligns with local climate patterns. In spring, refresh exterior finishes and check cavities for wear. Summer requires post-storm inspections and cleaning of debris. Fall is ideal for minor repairs and preparing habitats for dormancy. Regular cleaning prevents mold, rot, and debris buildup inside cavities. Document occupancy, plant associations, and any observed visits. Consistent monitoring yields actionable insights and informs future enhancements to the pollinator hotel build. The habit of routine care is the engine of long-term habitat health.
Monitoring methods and simple records for the pollinator hotel build
Keep a simple log, either on paper or a digital template, noting cavity activity, weather events, and nectar resources nearby. Record which cavity sizes fill first, which species visit, and any signs of distress. Capture seasonal photos to visualize changes. If you need a starter template, adapt a garden journal for pollinators. The key is regular entries; they illuminate patterns and guide your next build iteration. This disciplined monitoring strengthens the pollinator hotel build and supports readers who trust your experience.
Habitat diversity inside the pollinator hotel build
Diversify inside the unit by mixing hollow stems, drilled blocks, bark, and crevices. Different pollinators seek varied nesting cues, so a multi-material approach attracts a wider community. Include bamboo culms, reed bundles, and naturally hollow sections where safe and allowed by local guidelines. Use untreated hardwoods for cavities with smooth interior surfaces to reduce injury risks. A variety of materials creates a richer, more resilient pollinator hotel build and supports healthy ecological interactions within the garden.
Constructing microhabitats that attract a broad range in the pollinator hotel build
Provide options for small and large pollinators. Drill hole diameters spanning roughly 2 mm to 12 mm to welcome a spectrum of bee species, carpenter bees, and other insects. Leave ventilation gaps to prevent stagnation, but avoid oversized openings that invite predators. Avoid waterproof sealants inside nesting zones. Replace weathered sections promptly to maintain shelter quality. When microhabitats are well designed, occupancy rises and the garden gains pollination stability across blooms.
Integration with garden design and plant partners for the pollinator hotel build
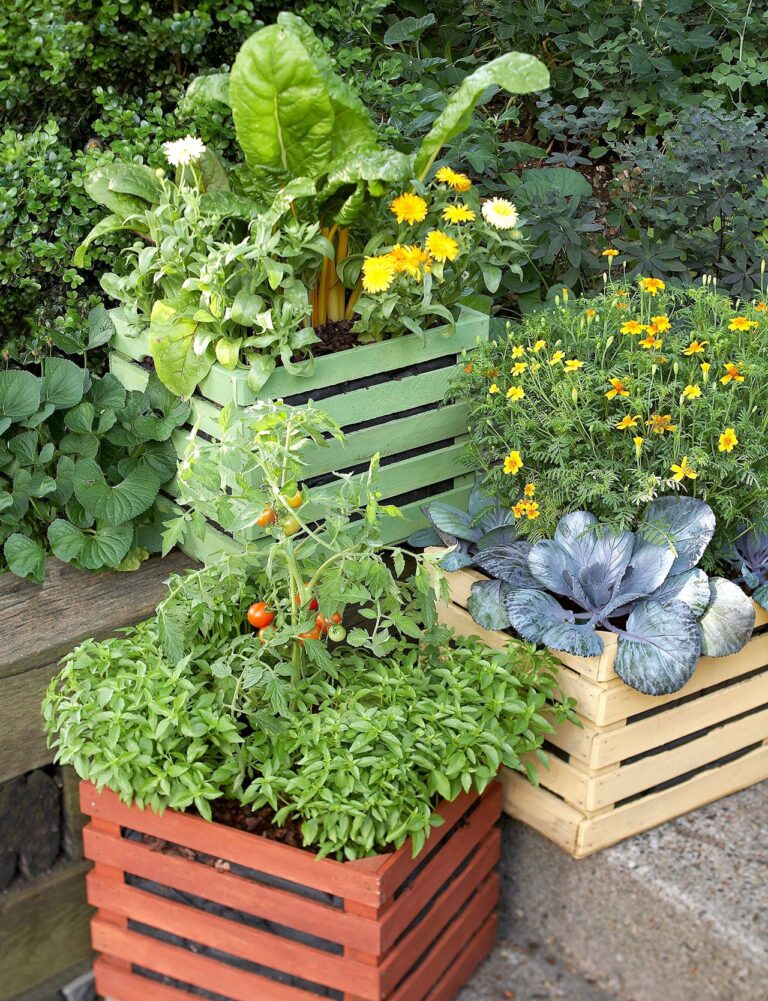
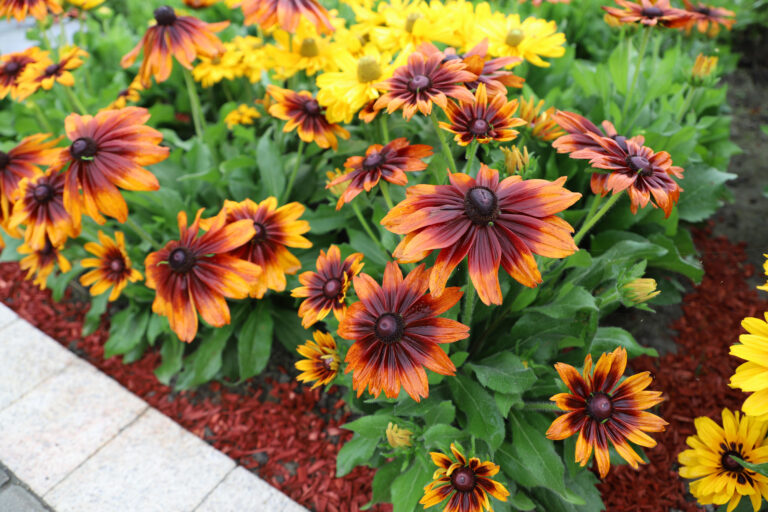
Pair your hotel with bloom-rich plantings to sustain visitors. Choose nectar sources that bridge early spring through late summer, and include natives aligned with your climate. In Bloom Haven, such partnerships enhance both visual appeal and ecological function. A well-timed mix of blossoms near the hotel build keeps pollinators close and engaged, increasing stay duration and nesting success. This integration also provides visual cues for readers following your blog, reinforcing the value of habitat design in daily gardening practice.
Linking observations to plant choices in the pollinator hotel build
Observe which floral resources correlate with cavity occupancy. If activity dips, tweak plant selections to fill nectar gaps and encourage concurrent nesting. Use these insights to inform your content strategy, sharing practical updates with Bloom Haven readers. For science-backed ideas, consult reliable resources such as Pollinator Partnership, which offers field-tested guidance that complements hands-on builds and garden observations.
Cost, scalability, and DIY vs kit considerations for the pollinator hotel build
Plan with budgets that reflect durability and potential expansion. A scalable design can grow with your garden and your ambitions. Start with a compact, modular unit that accommodates several cavity sizes, then add modules as space and time permit. Kits can jumpstart beginner projects, while seasoned builders may prefer custom components for tighter microhabitats. Remember that the long-term payoff is pollinator visits, improved plant vigor, and a livelier garden ecology. A thoughtful approach to cost ensures the pollinator hotel build remains feasible and rewarding.
Maintenance ROI and lifecycle planning for the pollinator hotel build
Estimate the lifespan of components and set replacement intervals for cavities and fasteners. Choose corrosion-resistant hardware and mildew-resistant finishes. Maintain spare parts for quick repairs and plan upcoming upgrades to accommodate new pollinator species as populations shift. A prudent budget for upkeep extends your pollinator hotel build’s usefulness and strengthens reader trust in your expertise. Ultimately, wise investment now yields ongoing habitat value for years.
Case studies and field observations for the pollinator hotel build
Across Bloom Haven communities, reports show higher pollinator activity when advanced build strategies are employed. One gardener observed a near doubling of mason bee activity after introducing multiple cavity sizes and improved ventilation. Another project noted longer nesting durations after adding shelter and wind stability. These stories illustrate how the pollinator hotel build scales from balcony boxes to expansive backyard landscapes. Always tailor designs to local pollinators and microclimates to maximize impact.
What these examples teach us for the pollinator hotel build
Durability, microhabitat diversity, and plant partnerships drive success. The strongest builds evolve with seasons and local pollinator dynamics. Small changes in cavity size, orientation, or materials can shift occupancy markedly. Use these lessons to guide your next build iteration and to craft compelling Bloom Haven posts that educate and inspire readers. Real-world results reinforce best practices and boost your authority as a trusted voice on pollination strategies.
Final guidance for implementing and refining your pollinator hotel build
Begin with a clear plan that suits your climate, space, and goals. Build a modular system that enables growth and experimentation. Prioritize durability, safety, and pollinator-friendly materials. Maintain, observe, and adapt as you learn. Document outcomes and share them with readers to strengthen Bloom Haven’s authority on pollinator care and garden ecology. This stage serves as a practical capstone, translating theory into a thriving habitat that visitors can replicate and celebrate.
Conclusion: In summary, the pollinator hotel build is a living, evolving project that grows with your garden and the pollinators it serves. By applying advanced strategies—durable materials, thoughtful placement, seasonal maintenance, habitat diversity, and ongoing monitoring—you create a vibrant, sustainable habitat that supports pollinators and enhances bloom performance. Ready to make your own pollinator hotel build a centerpiece of Bloom Haven? Start planning today, assemble your modules, and document your results to share with the Bloom Haven community. Your pollinator hotel build awaits, and the garden will thank you with a longer, richer, and more productive bloom season.